COSMETIC DENTISTRY

SMILE CONFIDENTLY
discover all the steps in the process!

Step 1

The dentist numbs the area around the tooth with a local anesthetic.

Step 2

The dentist uses an air abrasion instrument, drill, or laser to remove the decayed portion of the tooth.

Step 4

The dentist removes any debris and bacteria from the cavity to prepare it for the filling.

Step 5

If the cavity is near the tooth root, the dentist may place a liner made from composite resin, glass ionomer, or another material to protect the nerve.

Step 3

The dentist probes and tests the tooth to ensure that the entire decayed portion has been removed.

Step 6

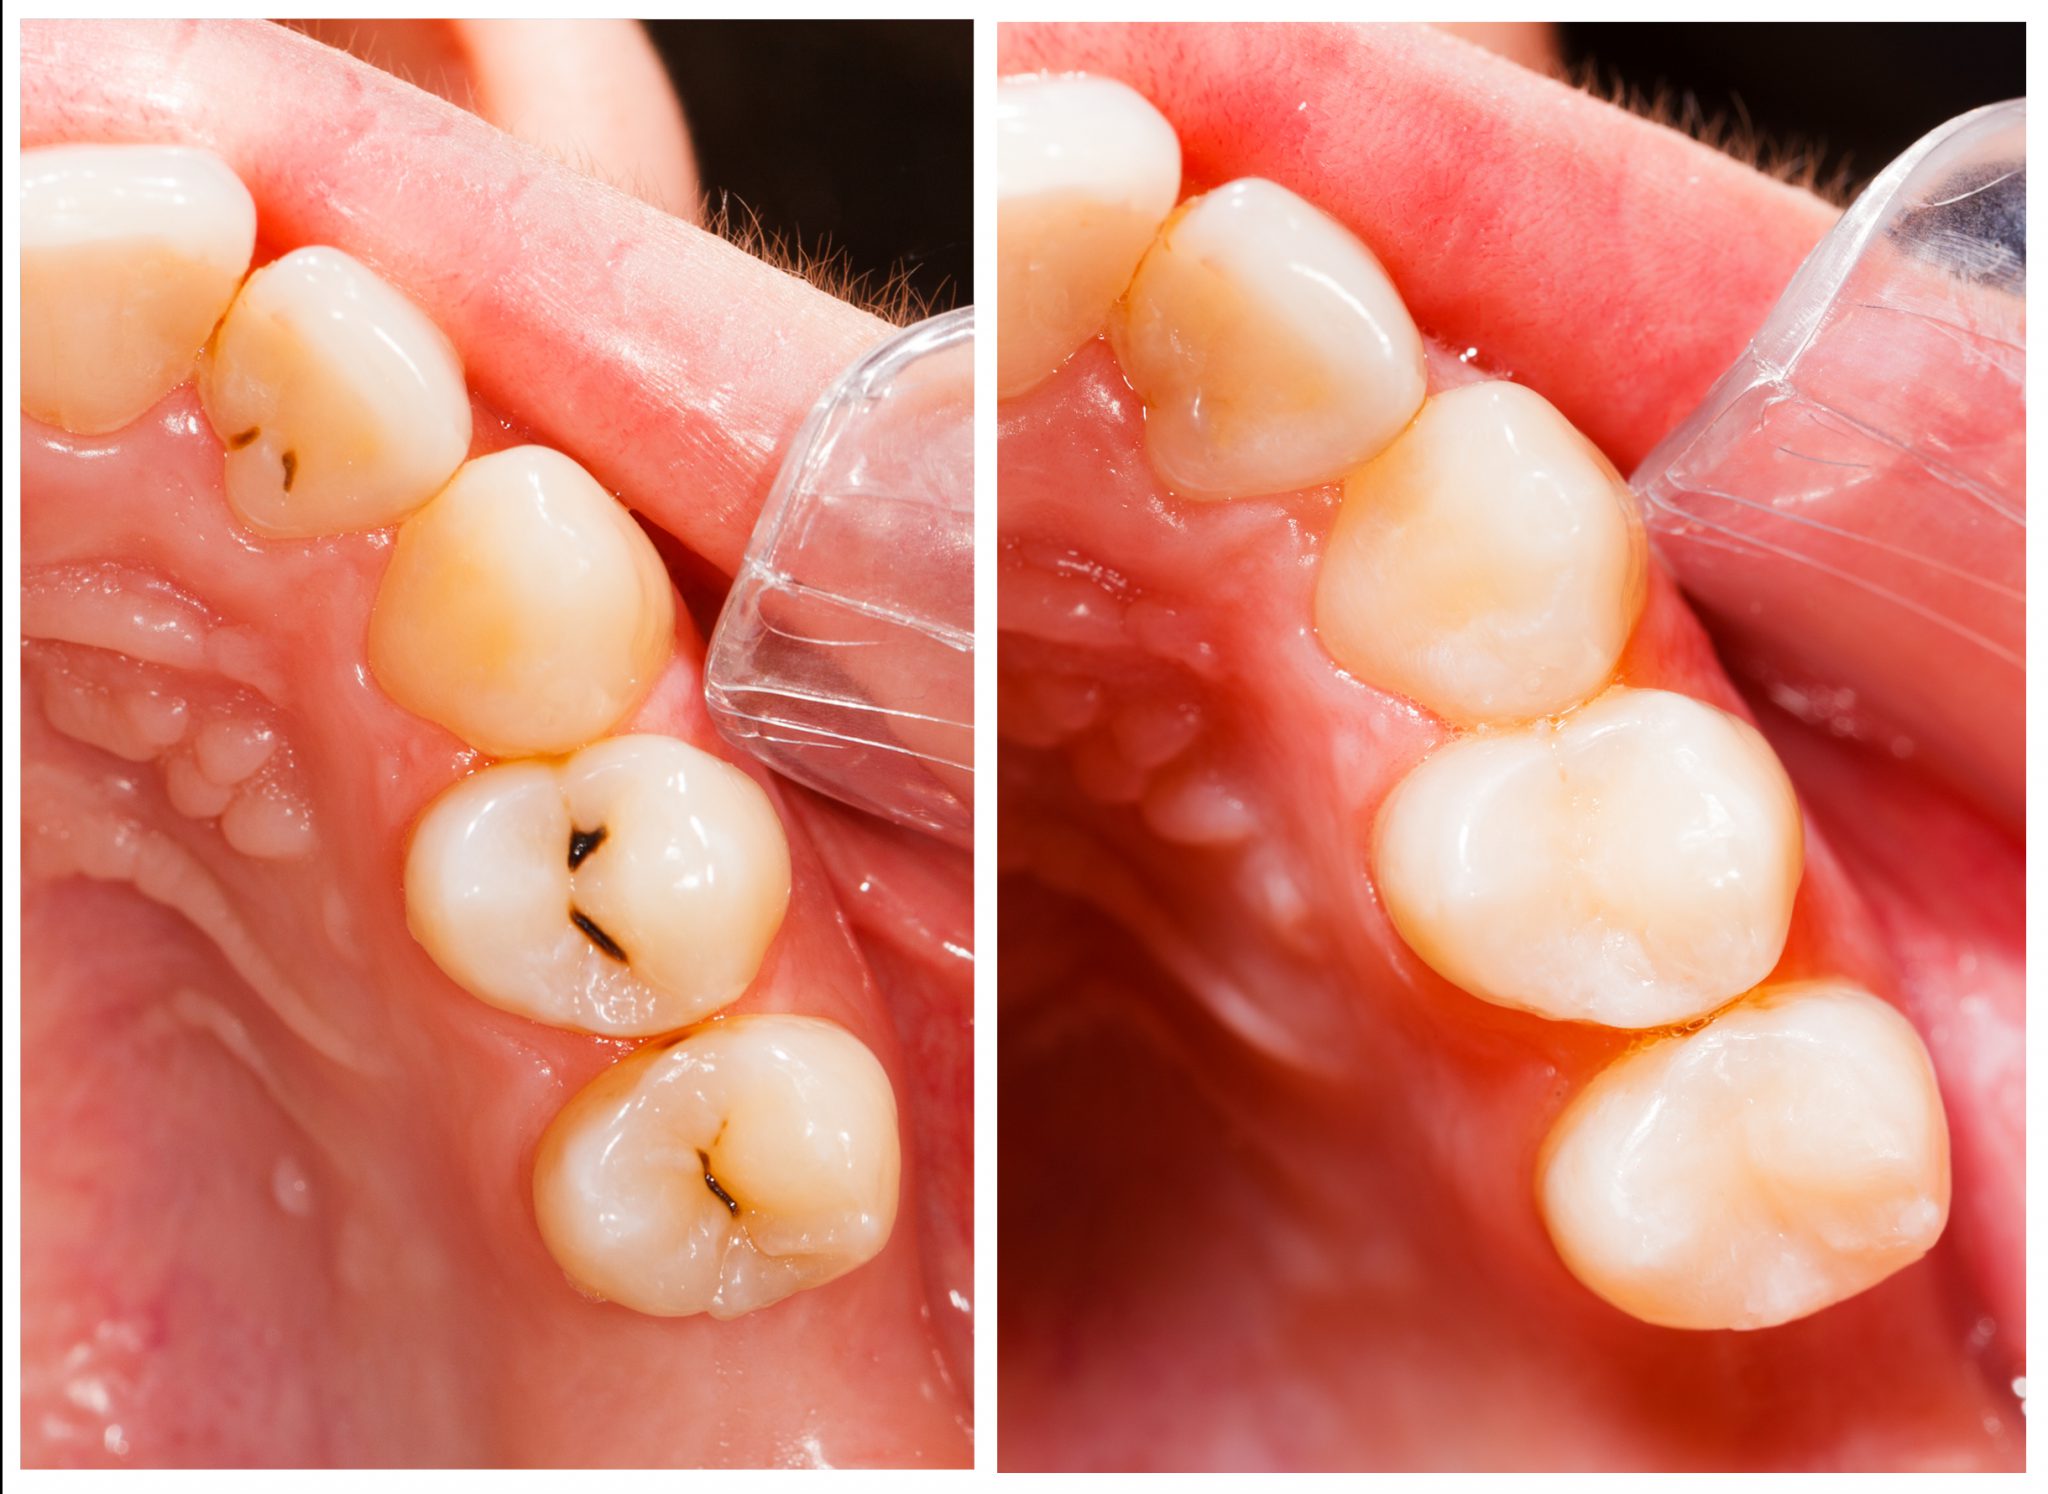
The dentist places the filling material and then polishes it.

TOOTH COLORED FILLINGS

Dr. Mitesh Jivan applies the principals of cosmetic dentistry to everything that we do. Every and all surfaces requiring treatment always gets the same attention to detail and focus. Our office does not use any metallic or mercury based filling materials, and we take great care when we replace amalgam or mercury fillings from your mouth in the safest way we can. 

Personalized care and attention to details are what we are about. Whenever we do any work, we always make sure that we do it in the most comfortable and safest way possible. What that means for you is comfort amenities to relax and distract you while you have any work performed. Specialized devices also remove debris and materials from your mouth as safely as possible. It is our commitment to all our patients to make the most out of your visit in as comfortable and safe was possible.

DENTAL VENEERS

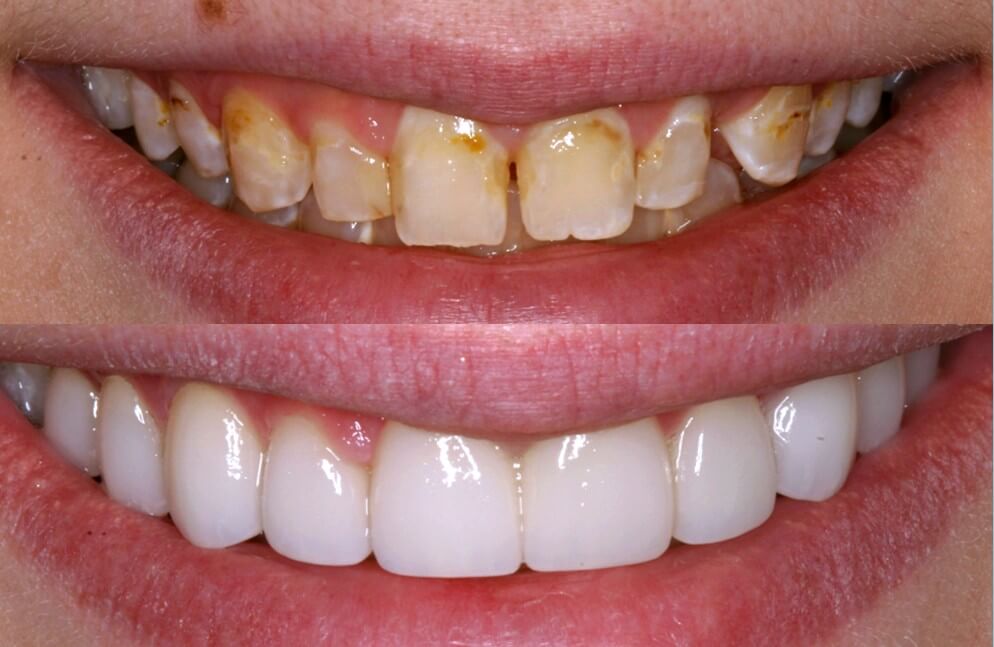
Veneers are an amazing technology to refresh or remake your smile in the most conservative way possible. Veneers are custom fabricated porcelain shells that are bonded onto the surfaces of the teeth. Dr. Mitesh Jivan dials in the features, size and color of the teeth before any work is performed. This allows for visualizing the final look before touching a single tooth.

Imagine having your smile completely and permanently transformed in a couple of visits. 

Our goal is to have a natural untouched looking smile that is a reflection of you.

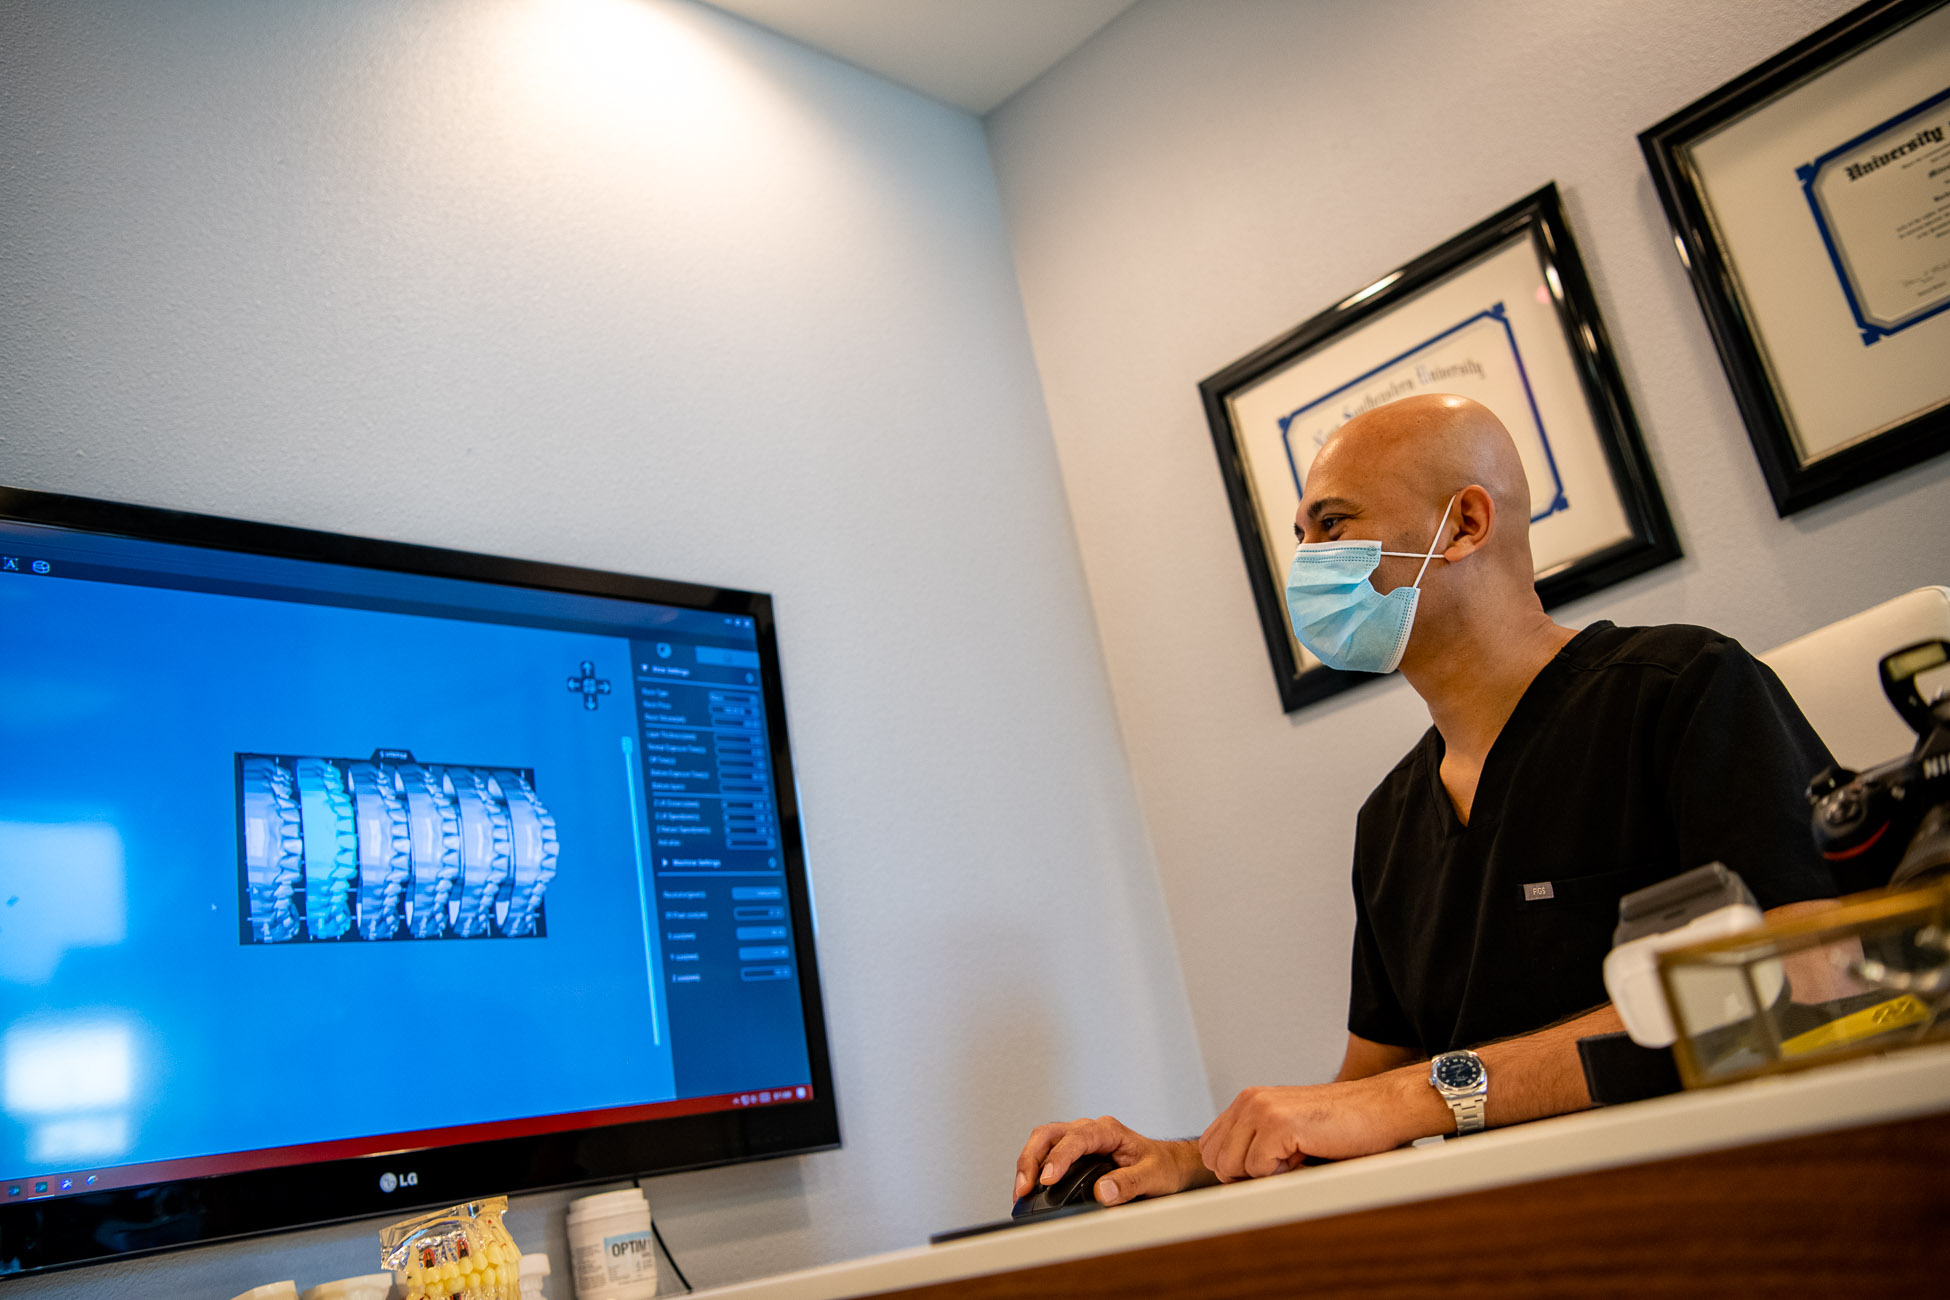
Bespoke smiles are designer smiles that are custom designed and fabricated. The process starts by taking a series of photographs. Dr. Mitesh Jivan analyzes facial features, and smile characteristics that best suit you. A template of how the final smile should look like is generated, and transferred onto the teeth. This gives us the opportunity to see what the end result would look like.

discover all the steps in the process!

Step 1

SMILE PREPARATION

If we determine that porcelain veneers are the best option for your cosmetic dentistry goals, we’ll need to prepare your smile and capture digital scans and images. Depending on the type of recommended dental veneer, we may need to remove a small amount of surface tooth enamel to accommodate the restoration. However, there are low-prep veneer options available for many patients that require little to no enamel removal. Once your teeth are prepared, we take digital scans and begin the smile design process.

Step 2

PORCELAIN VENEER DESIGN

Once your smile is prepared, we’ll use these digital scans to design your porcelain veneers. Our design will include the shape and shade for your final porcelain veneer. If we needed to remove any tooth enamel during the preparation process, your cosmetic dentist will place a temporary porcelain veneer to protect your smile until the final restoration is returned from our lab.

Step 3

PORCELAIN VENEER CREATION

We work with a skilled dental lab team who have expertise delivering exceptional, quality dental restorations for our patients. They utilize the highest-quality materials and advanced techniques to craft porcelain veneers that meet our exact specifications and give our patients the beautiful smile they’re looking for.

Step 4

PLACING THE PORCELAIN VENEERS

Finally, you’ll return to our dental office for the placement of your custom porcelain veneers. To ensure your comfort, we may apply local anesthetic (numbing) to the treatment area. When necessary, we remove any temporaries. Then, your cosmetic dentist carefully cements the porcelain veneers into place over your smile. If you’re happy with the look and feel of your veneers, we’ll polish your smile and make any minor adjustments to ensure your new bite fits together naturally. Finally, you’ll leave our dental office with a picture-perfect smile.

discover all the steps in the process!

Step 1

Checking the shade

The dentist will first record the shade of your teeth. This is to get an idea about the degree to which your teeth have to be whitened. It will also help the dentist to figure out how concentrated the whitening solution has to be to get that shade.

Step 2

Cleaning and polishing

The dentist will then use pumice to clean and polish your teeth. The whitening agent is best absorbed by a dry surface, and thus, your dentist may even keep a gauze pad in your mouth for a while. 

Cleaning your teeth also helps in getting rid of any existing plaque from your teeth, before whitening. The dentist will then use retractors to keep your gums, tongue, and lips from interfering with the whitening agent.

Step 3

COATING WITH THE WHITENING AGENT

Hydrogen peroxide solution, which is the best bleaching agent known for teeth whitening will be used to coat your teeth. The frontal side of your teeth will be coated, while the posterior side will be left out. This is because the purpose of whitening your teeth is just to improve the aesthetics of your smile, and the backside of your teeth doesn’t show no matter how wide you smile!

The solution temporarily opens up the pores in your teeth, penetrating them and fighting off the stains from within to whiten your teeth. The coating would stay on your teeth for nearly half an hour before the dentist decides to proceed to the next step.

Step 4

Rinsing

Your mouth will then be rinsed, thoroughly. This is to get rid of any residue of the solution. Do not be surprised if the dentist decides to brush your teeth as well. This is probably because the next step involves fluoride treatment!

Step 5

The fluoride treatment

Your teeth will finally be brushed with fluoride varnish. Fluoride is given to keep the shine of your teeth and sustain the whiteness you’ve just achieved. Besides, fluoride also helps in getting rid of any existing plaque in your mouth, since they work as a catalyst in staining your teeth! And that’s all with the whitening process! The ADA warns that there might be a little bit of temporary tooth sensitivity after teeth whitening. However, it goes away in no time!

TEETH BLEACHING

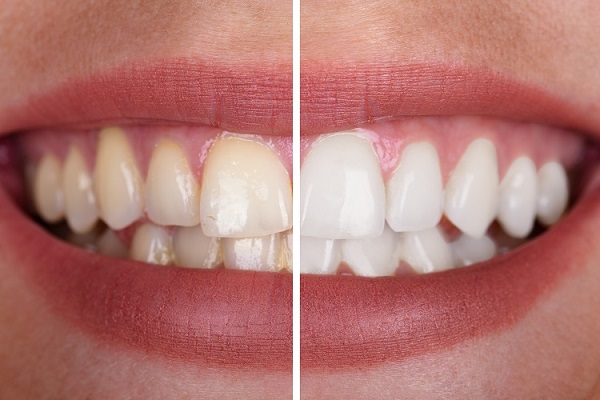
Have you started to notice that your teeth have been staining, getting more yellow, and lack the luster they once had. Unfortunately over time we are all plagued with teeth that darken, yellow, and stain. Our favorite foods and drinks contribute to this, but so does the natural design of our teeth. Studies repeatedly show that whitening your teeth can give the impression that you are 10 years younger.


TURN BACK THE CLOCK

Refreshing your smile with professional grade whitening is a quick and easy way to jazz up a dulling smile. The whitening process is quick and easy. At Advanced Park Dental we offer a range of whitening products that can fit into any lifestyle.

DENTAL CROWNS

Dental crowns are a great way to preserve teeth that have experienced trama or extensive damage from cavities. Applying  the principals of cosmetic dentistry, we match and fit the crown to the teeth that surround it.  Our all ceramic restorations are custom tinted and shaped. 

RESTORE FORM AND FUNCTION

Protection for cracking, broken, and unaesthetic teeth are reasons for getting a crown.  is care and attention to details are what we are about. Whenever we do any work, we always make sure that we do it in the most comfortable and safest way possible. What that means for you is comfort amenities to relax and distract you while you have any work performed. Specialized devices also remove debris and materials from your mouth as safely as possible. It is our commitment to all our patients to make the most out of your visit in as comfortable and safe was possible.

discover all the steps in the process!

Step 1

Impression and shade taking

The alginate impressions are taken from the upper and lower dental arches. This record serves as a model for the creation of the crown and temporary prosthesis. The temporary appliance is to be placed on the treated tooth to keep it protected while waiting for the cementation of the permanent crown. 

Step 2

Preparation

To place the crown over the problem tooth, the dentist would need to remove some of its enamel to make way for the hollow portion of the prosthesis. This step should be performed properly to make sure that the tooth would not look bulky and unnatural. Out of all the processes involved, this is the one that takes the most time. 

Step 3

Taking of final impression

To ensure the creation of a perfectly fitting and natural-looking dental crown, dentists take final impressions of the prepared tooth. This record should be taken carefully since it can affect the result of the prosthesis created by the off-site laboratory. 

Step 4

creating a temporary crown

This step is more than just for cosmetic purposes. Temporary crowns are essential in forming as a barrier that will protect the exposed area of the tooth where the enamel has been removed. It is also necessary to prevent the prepared tooth from shifting out of place. 

Step 5

APPLICATION OF THE PERMANENT CROWN

The creation of the permanent crown usually takes around two weeks to complete. As soon as it is ready, the patient will be advised to see the dentist for its placement. But before it is placed, the dentist needs to thoroughly clean the tooth. That is why local anesthesia may once again be used. The dentist will be checking the proper placement of the crown and its adjacent structures to avoid possible issues. 

After

Slight adjustments may be made by the patient to guarantee the best fit to ensure aesthetics, longevity, and proper bite. Instructions will also be given by the dentist which the patient needs to follow to make sure that the crown can serve its purpose all throughout its lifespan.

discover all the steps in the process!

Step 1

First, the dentist will examine the mouth and ensure any tooth decay or gum disease is treated. They may take an x-ray and use equipment to take measurements of the teeth and mouth.

Step 2

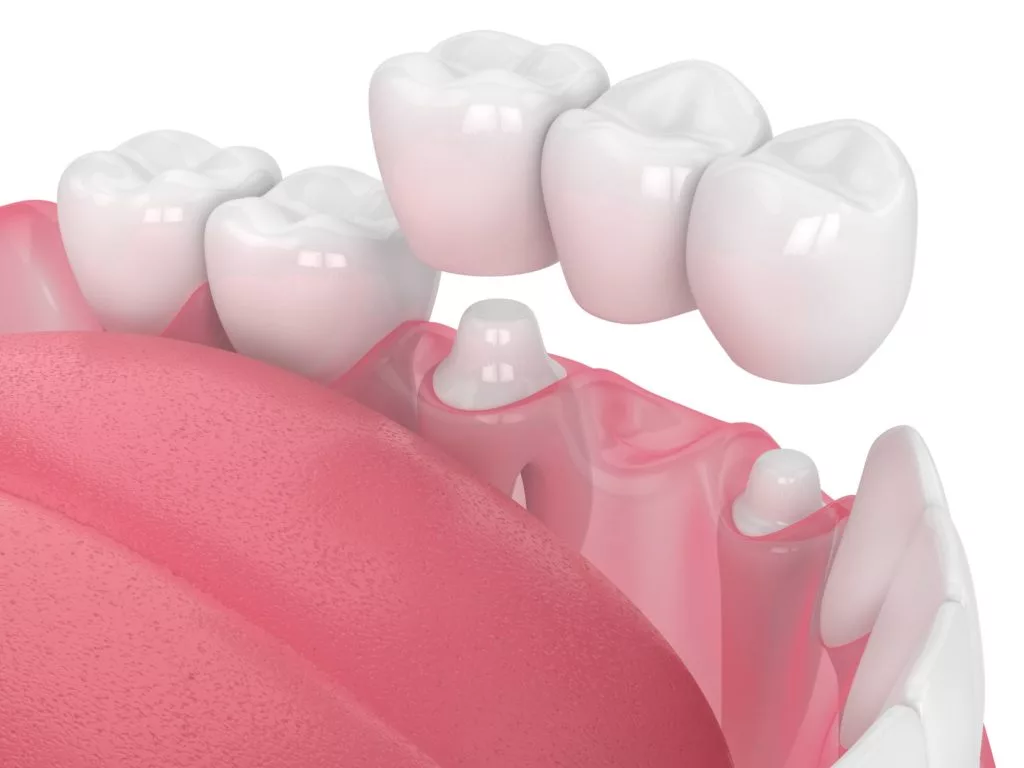
To prepare for a dental bridge, the dentist will usually file down the 2 healthy teeth on either side of the gap. They will then take a mould to make the bridge.

You might be given a temporary bridge while waiting for your permanent bridge to be ready. If so, that is taken out once your permanent bridge has been prepared.

Step 3

The permanent bridge is put in place when ready, and usually attached to the surrounding healthy teeth with dental cement. Or the dentist might anchor the bridge with a dental implant, which is surgically placed in the jaw. The dentist will need to check if dental implants are suitable for you.

Dental Bridges

New porcelain technologies allow Dr. Mitesh Jivan to make the most natural looking bridges without the use of traditional metals. Dental bridges are needed when missing teeth are present, and the resulting space needs to be closed. By closing the spaces we help to restore the natural appearance of a youthful smile.


Restore the form and function of missing teeth. By filling in the spaces of missing teeth we not only help the embarrassing appearance of missing teeth, but we also restore the bite force and strength needed to enjoy your favorite meals. 

COSMETIC DENTURES

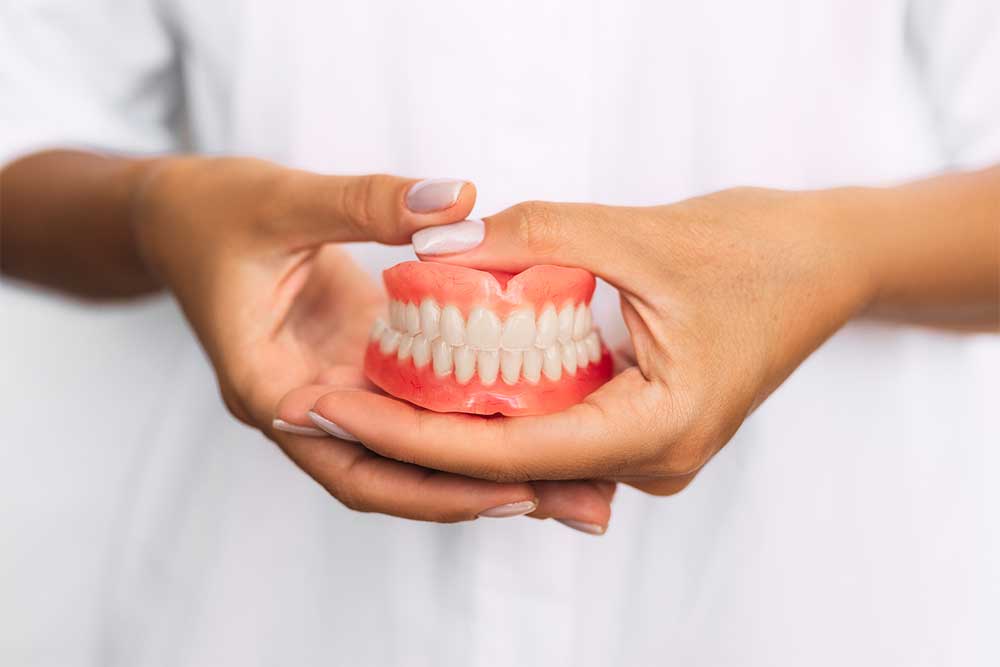
Dentures give us the opportunity to recreate the smile you’ve always wanted. 3D printing and injection molding technologies allow Dr. Mitesh Jivan to customize well-fitting dentures. Every aspect of the denture can be controlled by tooth shapes, sizes, and color. Restoring the function and bite is of great importance.